Audience
- New users in onboarding
- Workspace owners/admins completing first activation
Prerequisites
- You can access
https://platform.voqo.ai. - You can create an account or sign in.
- Your Clerk account includes a phone number.
Role and plan requirements
- Minimum role: Workspace admin or owner for first-time workspace setup.
- Plan notes:
- Core onboarding and first call should work on supported entry plans.
- Some advanced features (workflows/automation) are plan-gated and not required for this quick start.
Steps
1) Create account and complete invitation (if joining a team)
- Go to platform.voqo.ai.
- Choose Sign up for a new workspace, or use your invitation link if joining an existing team.
- Complete verification and sign in.
- Use the same email address that received the invitation.
- If you leave the invitation page and sign up later from the normal sign-up screen, Voqo still matches that email to your pending invitation and completes the invited account.
- You are routed into the onboarding flow or your workspace dashboard.
2) Complete the one-step onboarding flow
- Open
https://platform.voqo.ai/onboarding. - Enter your organisation name and workspace name.
- Select Continue.
- You are redirected to
/agentsand your default workspace and default agent are ready.
3) Confirm what was created for you
After the single onboarding step, Voqo creates:- your user record
- a default organisation
- a default workspace
- a default agent
- a Stripe customer
- Your agent is visible in the Agents area immediately after signup.
- no active subscription
- no purchased phone number
- no call-forwarding setup
4) Continue activation later when you are ready
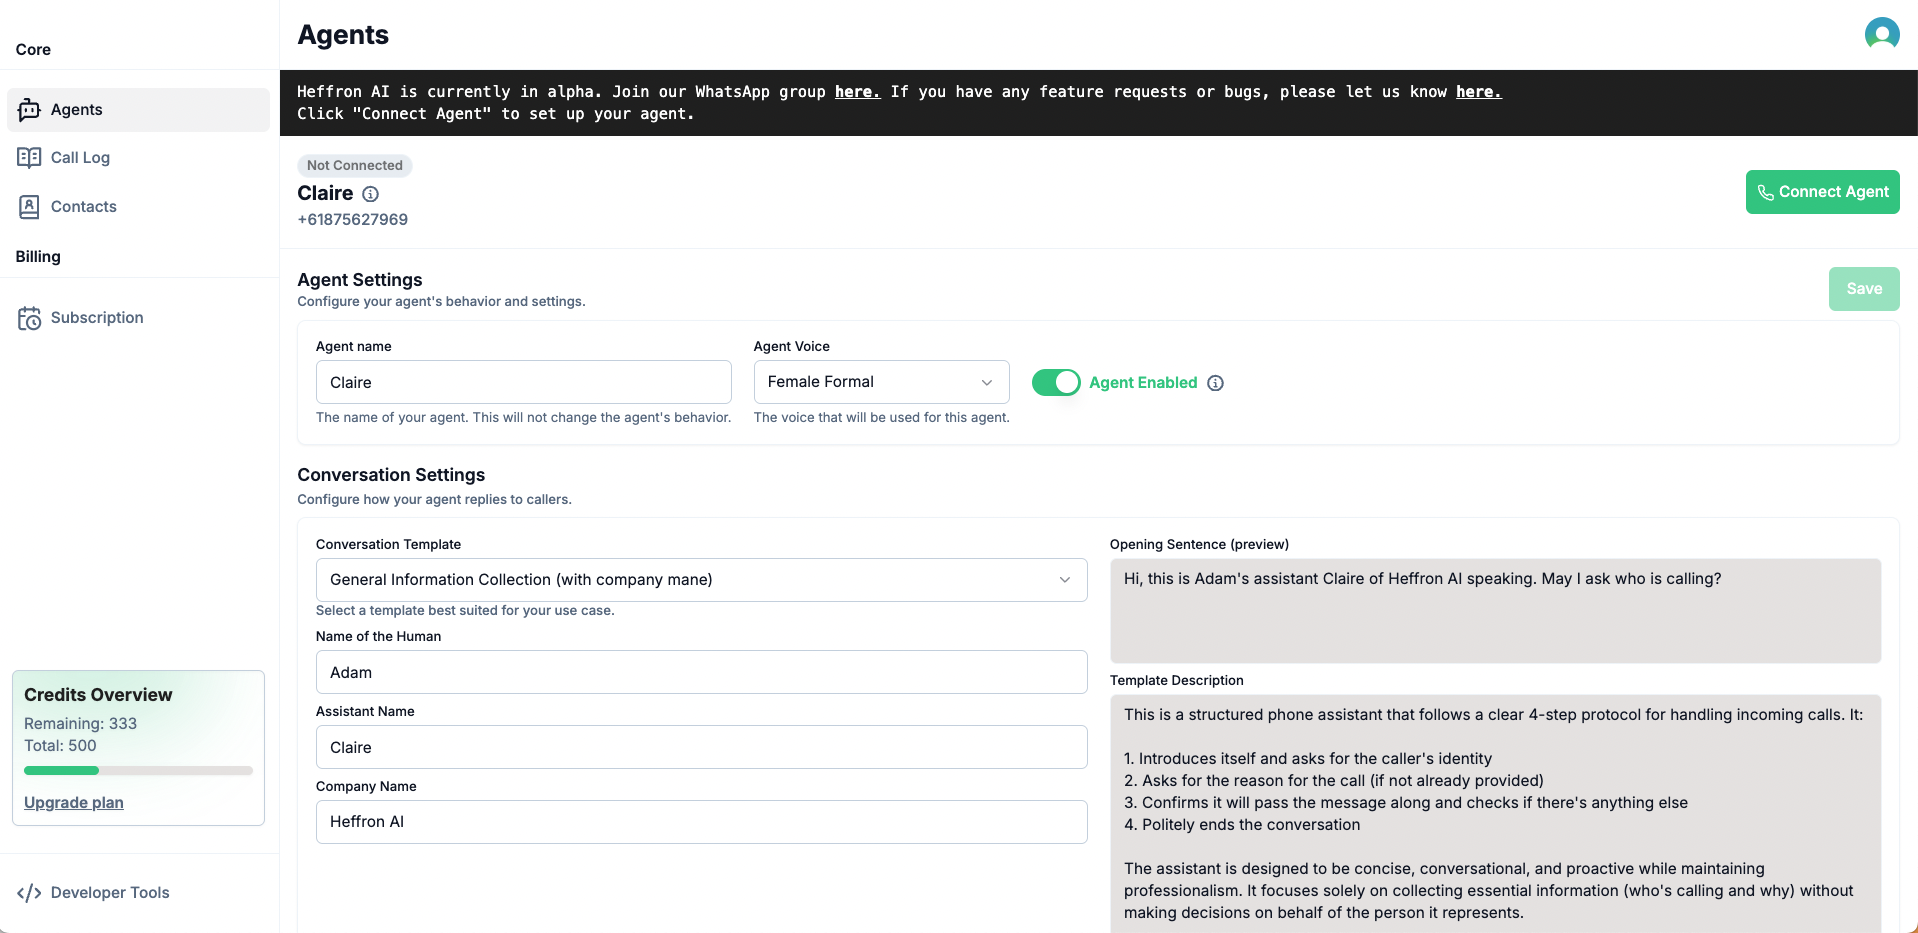
- Open the Agents area to review your default agent.
- Add billing and subscribe from the existing in-app billing flow when you are ready.
- Purchase and connect a number from the existing number/agent setup surfaces when you want to start handling live calls.
- Follow the in-app setup guide from the Agents area. Your completed guide steps stay with your account, and unfinished steps reopen the next time you sign in.
Expected result
After completing this page, a first-time user should be able to:- Set up account/workspace access.
- Land in the protected app with a default agent already provisioned.
- Continue billing and number setup later from the main product surfaces.
Troubleshooting
Onboarding page does not complete
- Refresh the onboarding page and retry the current step.
- Confirm you are in the correct workspace and signed-in account.
- Confirm both name fields are filled in.
I do not see a phone number yet
- That is expected after signup.
- New-user onboarding now creates your user, workspace, default agent, and Stripe customer only.
- Purchase and connect a number later from the app when you are ready for live calling.
I need to start handling calls now
- Finish billing/subscription setup from the app.
- Purchase a number and complete your forwarding setup.
- Then run your first live-call validation.
Related docs
- Set Up Agent and Verify First Call
- Manual Setup and Carrier Fallback
- Connect Agent to Your Phone
- Review Call Logs