Automatically Add Contacts
InContact Settings, you can enable automatic contact creation. This feature will automatically create a contact for each caller if the caller’s name is identified during the conversation.
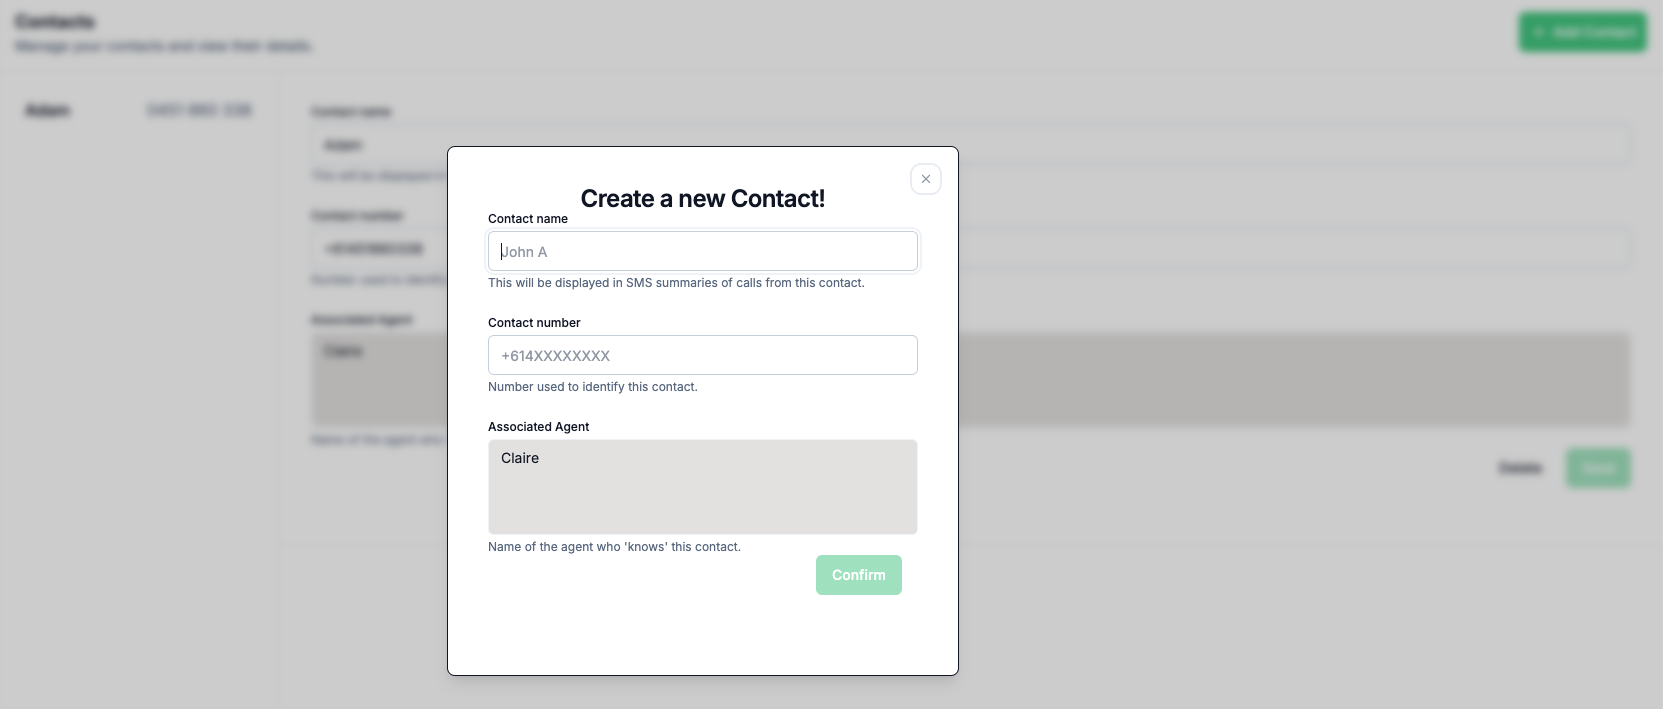
Manually Add a single Contact
You can manually add contacts to your contact list, one at a time.- Navigate to “Contacts” in the sidebar.
- Click “Add Contact”.
- Enter the contact’s name and phone number (and other details if you wish).
- Click “Save”.
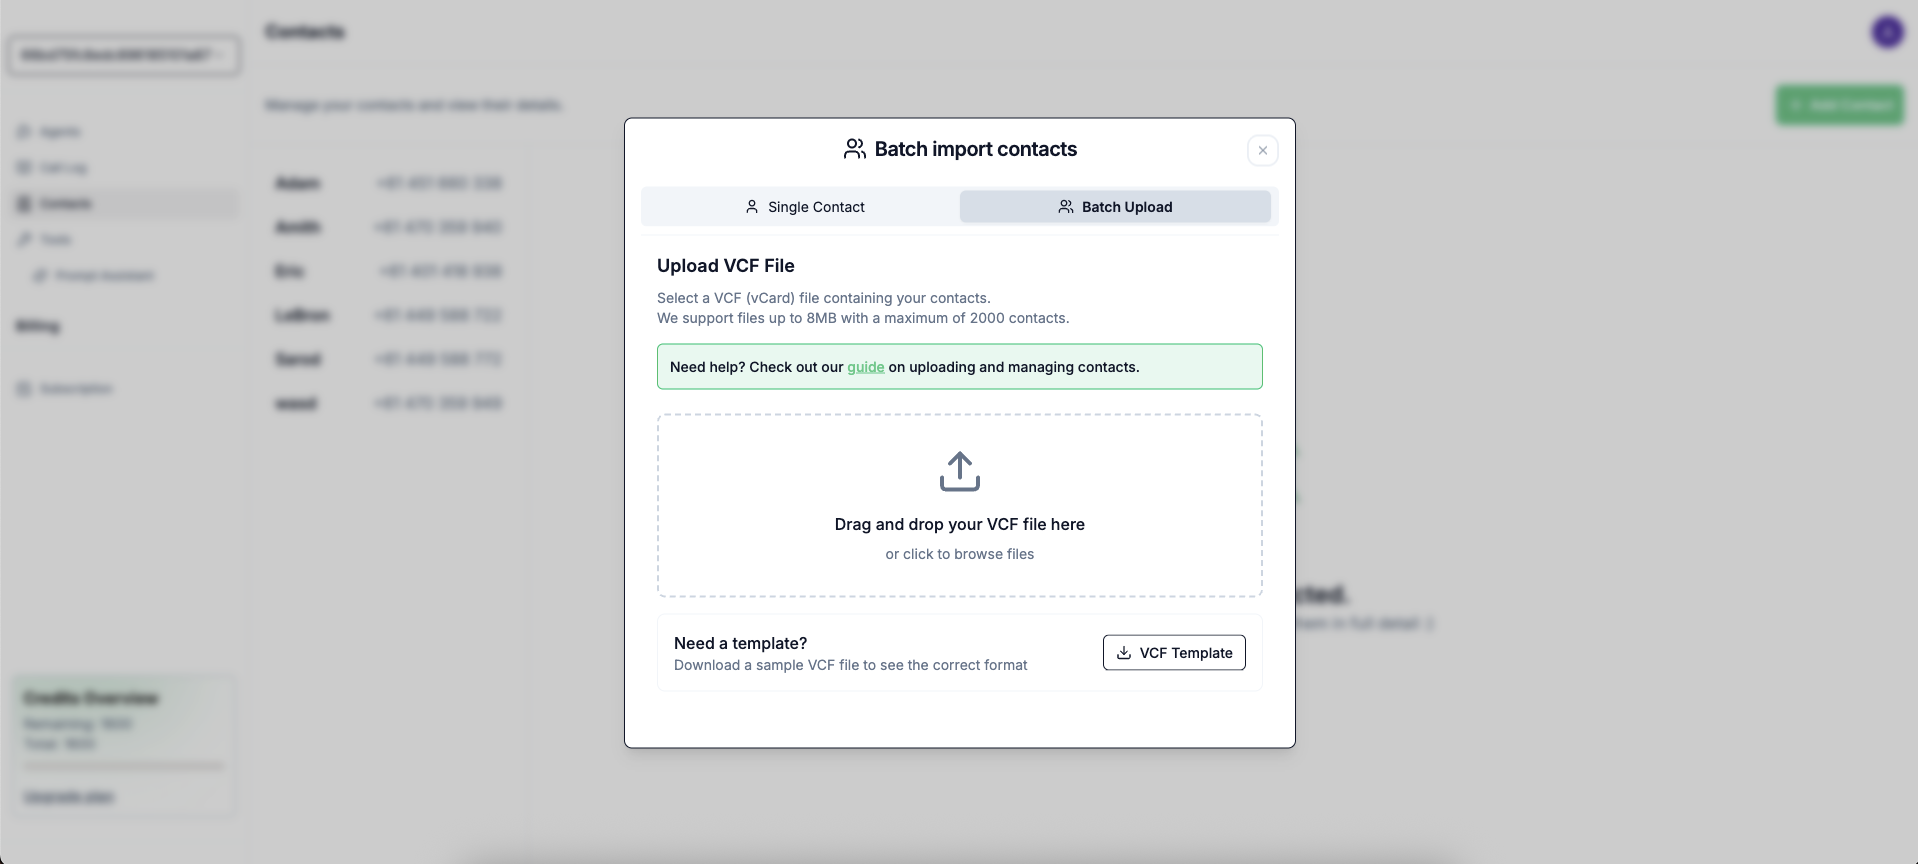
Batch Upload Contacts
You can also upload multiple contacts at once, via a vCard/VCF file (this can be exported from your existing contacts list, as per guide right below).- Navigate to “Contacts” in the sidebar.
- Click “Add Contact”.
- Select the “Batch Upload” option instead of “Single Contact”
- Select or Drag and Drop the vCard/VCF file containing the contacts you wish to upload.
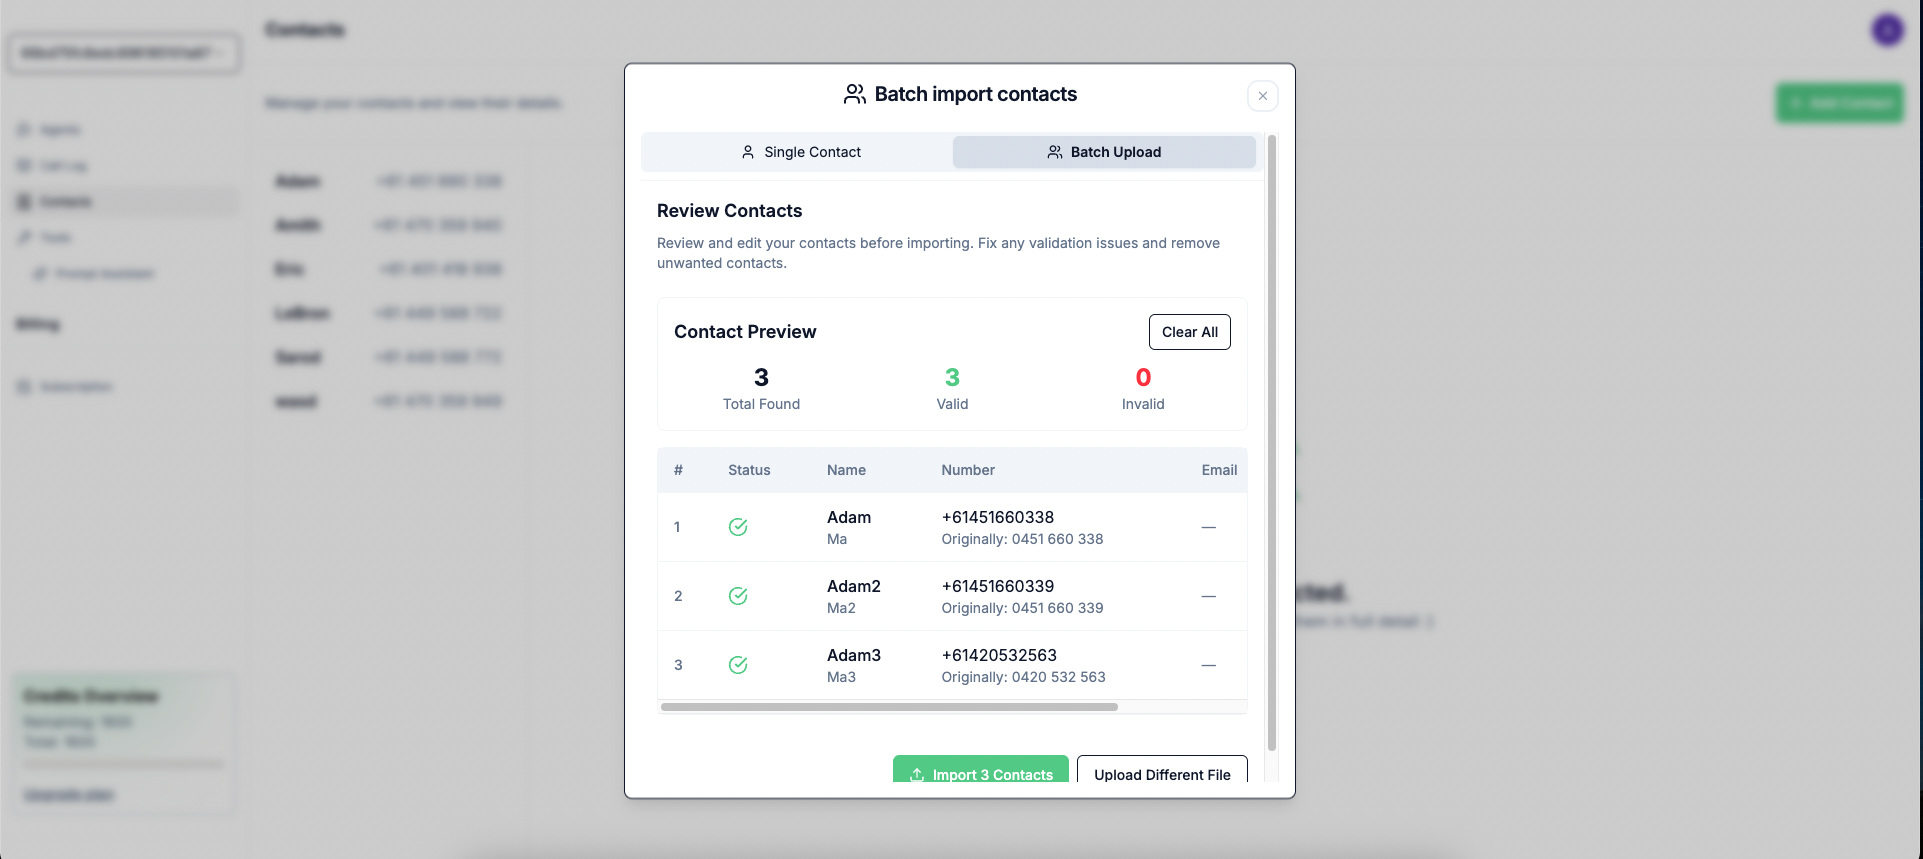
- Review the processed contacts in the Preview screen and edit some if required.
- Click “Import Contacts” to save to contact list.
Exporting Contacts from your Phone

Updating Contacts
Enabling automatic contact creation will automatically create a contact for each caller. If the caller’s name is identified during the conversation. Enabling automatic contact name updates will update the contact name if the caller’s name from the most recent call is different from the name in the contact list.
Why use Contacts at all?
There are plenty of benefits of using contacts:- Contact name will be included in the Post Call SMS sent to you, right below their number.
- utilise the in-conversation memory saving and using feature, as this is always tied to a specific contact (see Use and Save Memories).
- check the dynamic start sentence option under Custom Prompt’s
Opening Sentenceinput field, which not only generates similar opening sentences but also include Contact’s name.